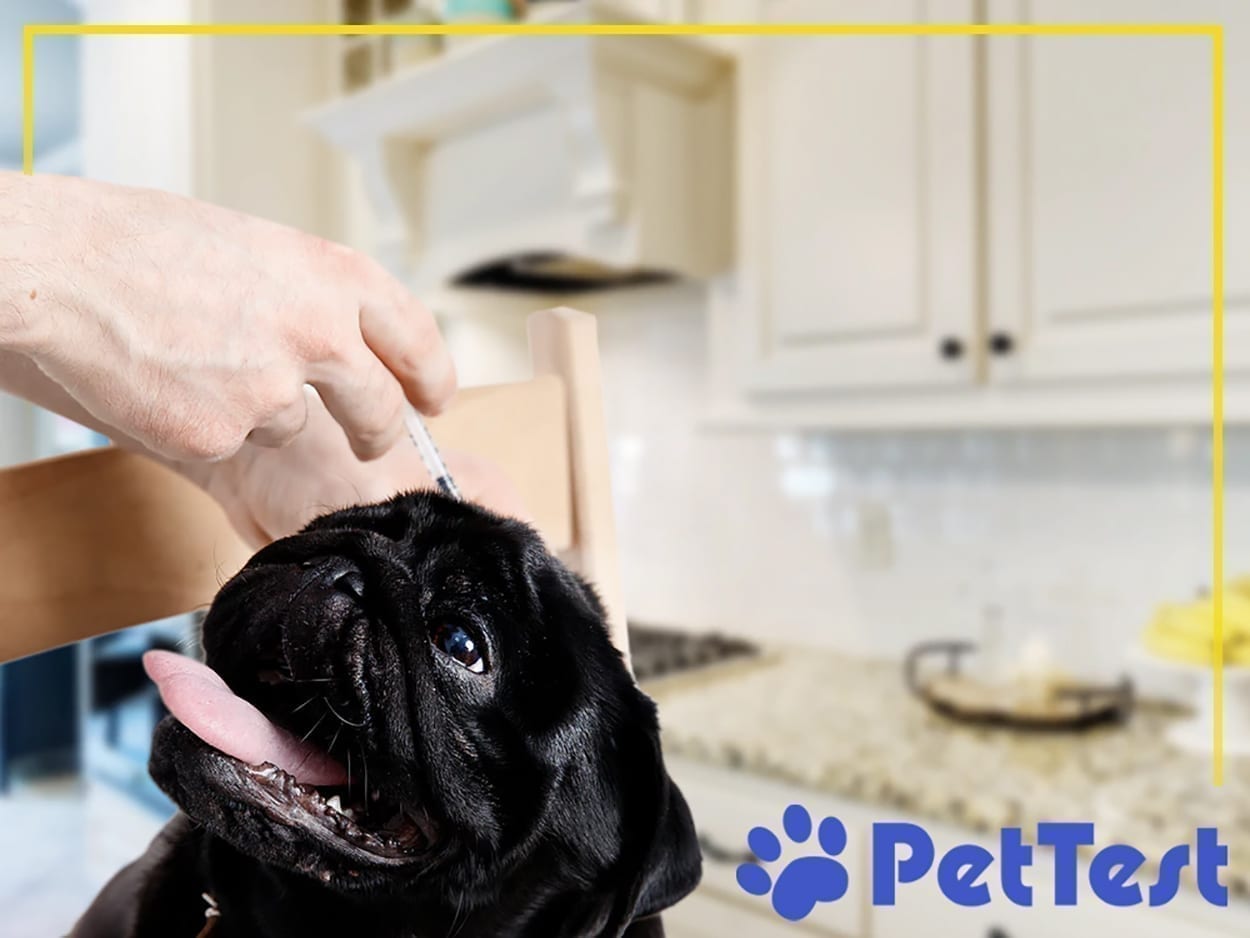
As our friends at PetTest have discussed before, home glucose testing is the greatest tool to get a handle on managing canine diabetes in your dog. Many vets don’t mention the importance of home testing early on — likely because the whole diagnosis can be very overwhelming. Sadly, though, many others just don’t believe that home testing is a good idea (the reasons allude us all). If your child was diagnosed with diabetes, we’re fairly certain that the pediatrician would stress the importance of testing that child to be sure that he/she is safe at all times. Once people understand that there are handheld meters for their dog, and that home testing is a fantastic supplemental tool between vet visits, there is no looking back!
The biggest difference between human diabetics and canine diabetics is that a human knows that they are going to eat, what they are going to eat and that they have access to the refrigerator and pantry if they are feeling a bit off. Well, your dog has no such luxury, and as their caregiver, it is your job to manage their food and insulin for them. In short, you are now your dog’s pancreas! This may sound daunting, but once you grasp the basics of canine diabetes, it is very manageable for both you and your pup.
A “normal” range for a non-diabetic dog is roughly 70-140. That non-diabetic dog has the ability to “save itself” if there is a sudden drop in BG (blood glucose). Your diabetic dog doesn’t have that ability because he/she doesn’t have a functioning pancreas. It is widely recommended that for a diabetic dog, a safe range to keep BG in is 150-250. This will ensure your pup safe in the event that a squirrel happens to run by or the UPS person comes to the door (the nerve!) and a frenzy ensues. How will you know that your dog is in that range? You test them at home!
When you test a fasting number (that’s the number before you feed – remember… test, feed, inject), you want to be sure that it is around 200. This is so that once your pup has eaten, it is safe to give a full dose of insulin. If your pup is running low for some reason, you’ll want to feed and test again about 15-20 minutes after the meal to be sure that your pup is at or above 200. You have about an hour after the meal to test and be sure that your pup is in a safe range to inject a full dose of insulin. If after an hour, your dog’s BG is still below 200, you’ll want to reduce your insulin dose for this injection. The most commonly accepted guidelines that most veterinarians teach is as follows.
If your dog has eaten their FULL meal and after an hour hasn’t come up to 200… adjust their insulin dose as follows:
| Under 200 | : Reduce insulin by 25% |
| Under 150 | : Reduce insulin by 50% |
| Under 125 | : Reduce insulin by 75% |
| Under 100 | : Skip insulin |
Keep in mind that the first quarter to half of the insulin dose covers basic metabolic function like breathing, heartbeat, etc., and the rest is to interact with food. If you continue to see low fasting numbers, it may be wise to discuss with your vet an overall dose reduction. You’ll want to do a curve on your pup (a home curve will give you the most accurate readings) to see where your readings are over a 12-hour period. For more information about curves and how to interpret them, check out PetTest’s blog here.
Knowing where your dog’s BG is (and what their trends are) is such an important piece of actively managing this disease. It can be overwhelming, but you’ve got this! Should you need any canine diabetes supplies, or want to pick up a meter and start home testing for the first time, use promo code IHEART30 for 30% off most products at ShopPetTest.com. Check back each month for more content from our friends at PetTest, or explore their extensive blog series on canine diabetes today!

 Toledo, United States.