Since 2012, pet lovers and crafters have come together to enrich the lives of shelter pets through National Craft For Your Local Shelters Day (July 21). On this day, people make beds, toys, clothes, “Adopt Me” bandannas, etc., to give to their local shelters. You don’t have to be a master crafter to help pets – the following three toys are sure to be a big hit at the shelter and are easy to make for a novice. Don’t worry if you can’t cut straight or measure exactly, the pets don’t care!
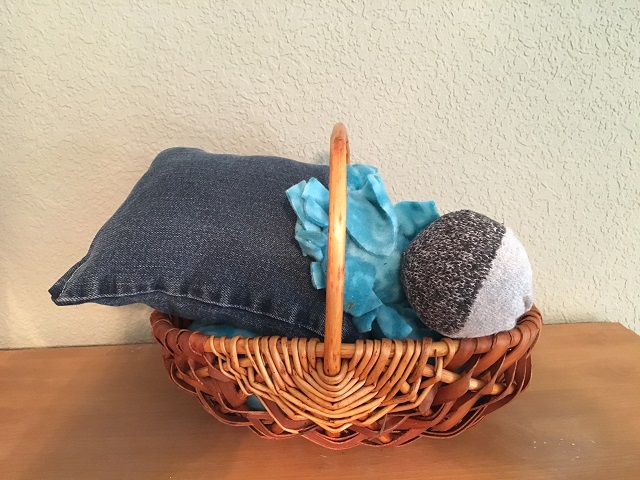
#1 – Jean Dog Chew Or Cat Kicker
This toy is easy to make with basic sewing skills and can be altered to be a dog chew toy or a cat kicker!
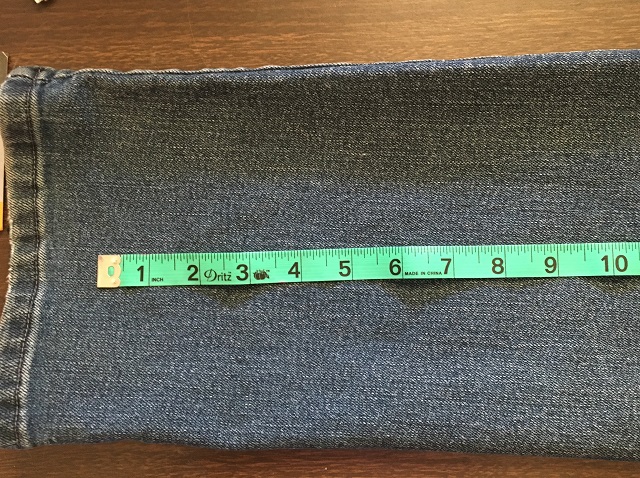
Step 1. Cut the legs of a pair of Jeans into 9” sections.
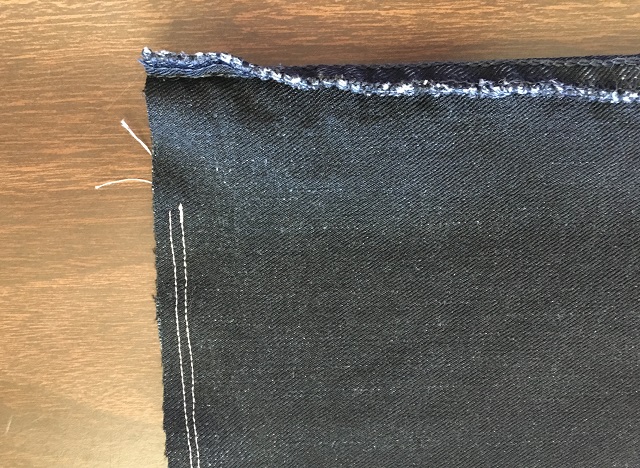
Step 2. Turn inside out and sew up one side completely. Reinforce by stitching twice or using a reinforcement stitch.
Note: Be sure to stitch over the seams on the sides, to lock them.
Step 3. Sew the other side in the same manner as above, but leave a 2” gap.
Note: if you are adding a squeaker, be sure you leave a big enough gap that it will fit.
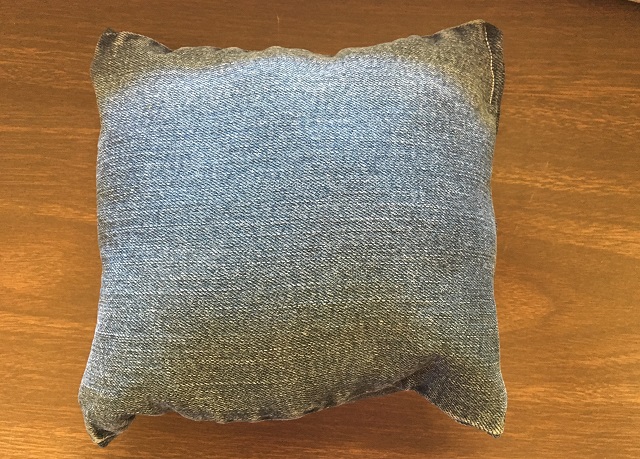
Step 4. Turn right side out. For a dog toy, stuff with stuffing and a squeaker.
For a cat kicker toy, stuff with stuffing and catnip. You may decide to make it narrower by cutting the jeans down on one side, which means you will need to sew up three sides instead of two.
Step 5. sew up the opening.
#2 – Sock Tennis Ball Tug
No sewing required for this fun toy! Take an old sock (it’s okay if it has holes!), put a tennis ball inside and tie a double knot. In under a minute you have a fun toy that dogs can play with by themselves or with a volunteer.
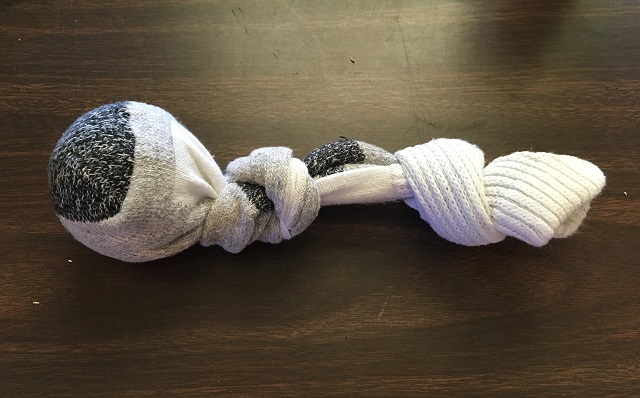
This is actually a favorite toy of my own dog….
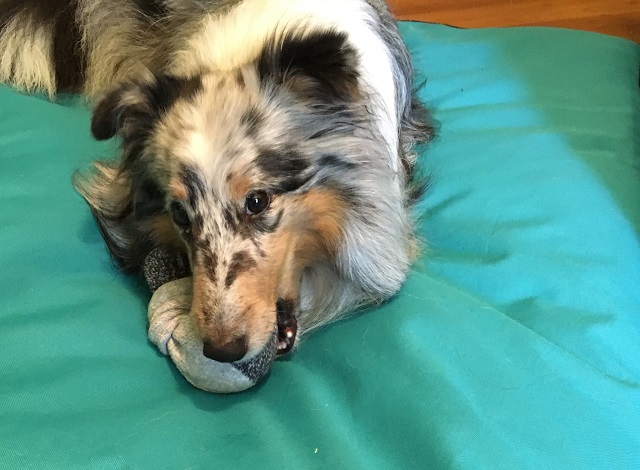
It’s great because when the sock gets old, it can just be cut off and the ball played with by itself, or the sock can be replaced. For extra fun, buy tennis balls with squeakers in them.
Don’t have old socks? Long sleeve shirts work too – just cut the sleeves off, tie one end, drop the ball in and put not on the other side of the ball. You can then put knots throughout the rest of the open sleeve if desired.
#3 – No-Sew Catnip Squares
This is a great project to use up all those small pieces of scrap fleece or even clothes – as long as the material doesn’t fray. While many versions of catnip squares require you to sew, this one doesn’t!
Step 1. Cut pairs of 6” squares.
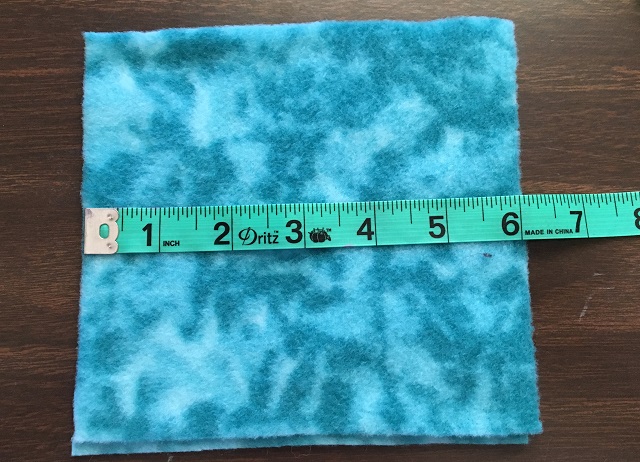
Step 2. With two squares stacked together, cut slits into the edges approximately 2”. Do this around all the edges.
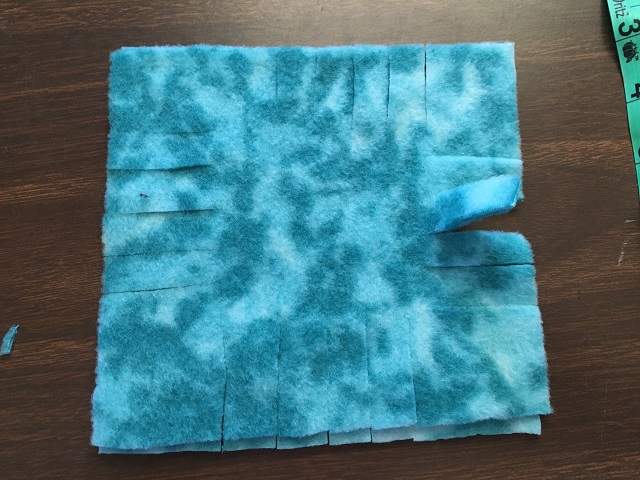
Step 3. With right sides out, tie the squares together on all sides, leaving about 2” open on one side.
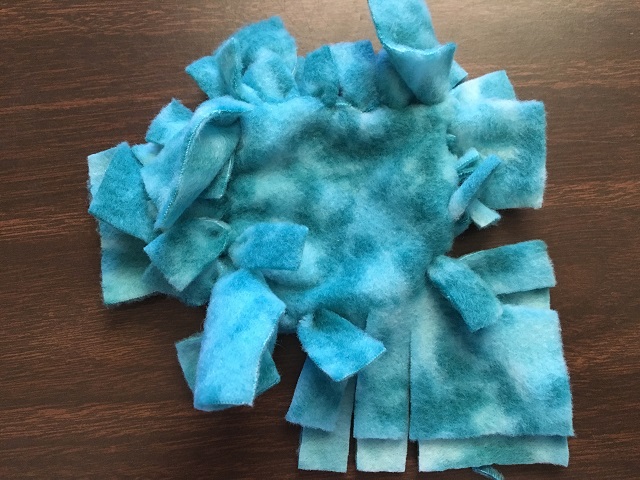
Note: Make sure you pull tight so the catnip doesn’t leak.
Step 4. Fill with catnip and tie closed.
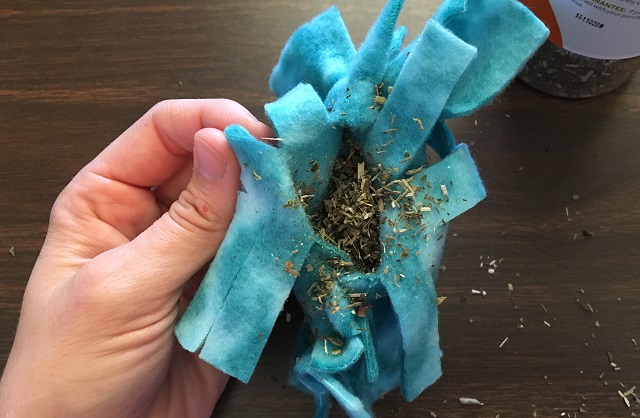
Note: to stretch out your catnip if you are making a lot, you can use a mixture of stuffing and catnip, like you did for the kicker.
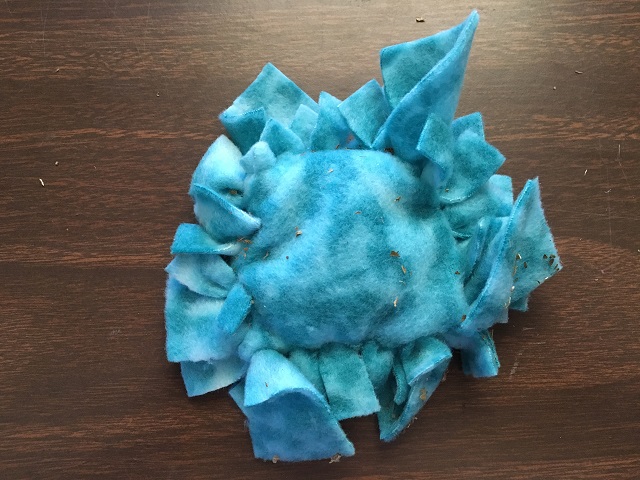
These three toys are so easy to make, you and your friends can make quite a few in one day! To get in on the action and pledge to be a part of National Craft For Your Local Shelter’s Day, visit the SewDoggieStyle website.
